⛳The Ultimate <$2,000 Home Simulator Guide: The Budget Golfer’s Blueprint
🤯 The Myth is Dead: Why a Sim Doesn’t Need $10,000
If you’re reading this, you probably thought an indoor golf simulator was only for rich club pros. Every guide online tells you to spend S$10,000 or more. That’s the myth we’re going to break.
The truth is, thanks to modern tech, you can build a fully functional, data-rich golf simulator for practice, fun, and entertainment for under S$2,000.
We call this the Franken-Sim Blueprint. We don’t buy a single expensive brand package. We buy the best value component for each job and put them together.
Here is your simple, step-by-step guide to building your budget golf simulator.
The Core: The Budget Launch Monitor (S$900 – S$1,500)
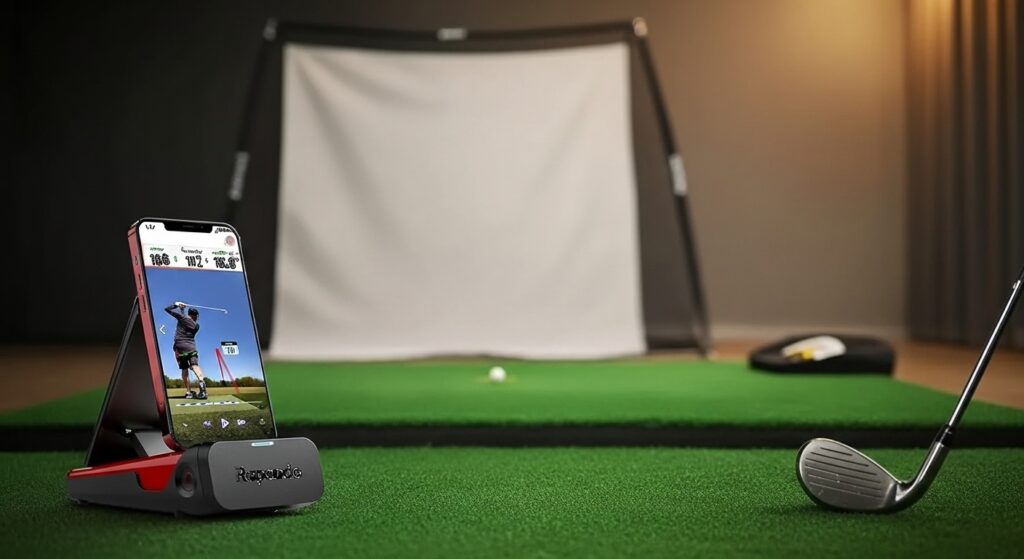
The Launch Monitor is the heart of your simulator. It reads the ball and the club. This is where you will spend most of your budget, but you must choose smart.
What to Skip: Expensive overhead monitors like TrackMan. They are too costly for the budget build.
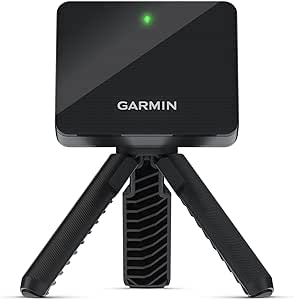
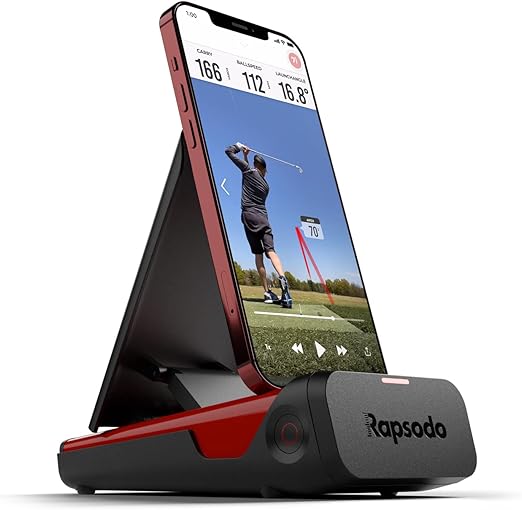
What to Buy: Focus on mid-level portable launch monitors. These use radar or photometric technology to give you accurate data like ball speed, launch angle, and carry distance.
| Best Budget Models | Why They Win |
| Garmin Approach R10 | Great accuracy, small size, and access to simulator software like E6 Connect. Best budget overall. |
| Rapsodo MLM2PRO | Excellent data, plus a high-speed camera for slow-motion swing analysis. |
Budget Pro Tip: Buying a portable monitor like the R10 means you can use it outside at the driving range, too! That’s max value.
The Protection: Hitting Net & Mat (S$230 – S$400)
Safety and feel are everything. You must protect your room and your joints.
1. The Safety Net
A custom cage is expensive. A simple, heavy-duty net works just as well.
- Goal: A net that can stop a ball hit by a strong driver. Look for freestanding hitting nets with fiberglass poles.
- Cost Saver: You don’t need a huge enclosure. You only need a strong net that is wide enough to catch your shanks.
- Estimated Cost: S$150 – S$300.


2. The Hitting Mat
Never use cheap, thin turf. It feels bad and can injure your wrists or elbows.
- Goal: A mat that is at least 1.5cm thick and gives a realistic feel on impact. Look for fiber-built or four-layer mats.
- Where to Find Deals: Check Carousell or local golf forums. Golfers often sell good quality mats when they move or upgrade their permanent sim.
- Estimated Cost: S$80 – S$200.
The Experience: Projection & Software (S$100 – S$300)
You don’t need to spend thousands to see your ball fly.
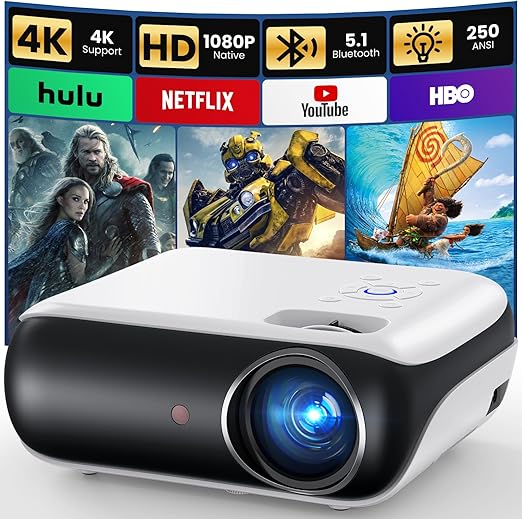
1. The Projector
- The Secret: Buy a used projector (720p or 1080p). It just needs to be bright enough (2000+ lumens). Check second-hand tech sites.
- The Screen: A simple white sheet or inexpensive impact screen material from an online store works perfectly as a display.
- Estimated Cost: S$100 – S$250. (Optional—you can skip this and just use your phone/tablet display).
2. The Software
Most budget launch monitors come with a basic subscription to simulator software (like E6 Connect or Awesome Golf). Use the included software first. Once you are ready, you can pay for a monthly subscription to get more courses. This keeps your upfront cost low.
✅ The Final Budget Blueprint
Here is the proof that the S$2,000 Golf Simulator is achievable for the Budget Golfer.
| Component | Target Spend (S$) | Status |
| Launch Monitor (R10/MLM2PRO) | S$1,200 | DONE |
| Heavy-Duty Net | S$250 | DONE |
| Quality Used Hitting Mat | S$150 | DONE |
| Projector & Screen Material | S$200 | DONE |
| Total Build Cost | S$1,800 | BUILT! |
Conclusion: Building a powerful indoor golf setup is no longer a rich man’s game. Follow this Budget Golfer’s Blueprint to get the best practice and fun for the lowest possible price.
As an Amazon Associate I earn from qualifying purchases in Amazon links provided.
See how data and technology can track your course improvements in this Data-Driven Golf Guide